|
CATEGORIES
Categories
All
Aaron Christensen Art & Design
Art Spotting
Contest / Give A Ways
Contest / Give-a-ways
Dentistry
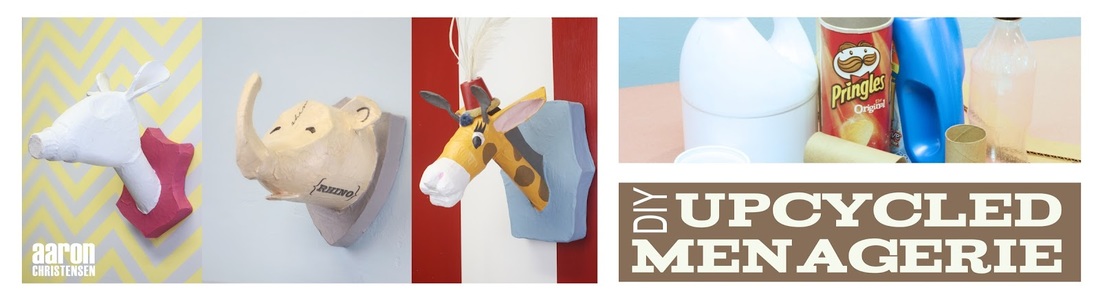
DIY's
Embellishments Kids
Events
Fabric
Free Download
Halloween
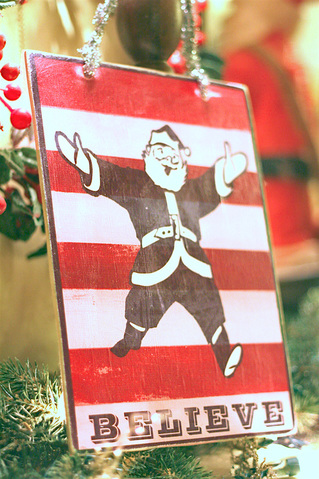
Holiday
Huh?
Kids Design
Mood Boards
New Introductions
Out And About
Parties
Products
Projects
Recipes
Retail Design
Sets And Props
Sports
Video Clips
Visual Display
WALL ART & DECOR
Weird And Wild
SEARCH